
How to Set Up Your Slot Machine at Home: Complete Installation Guide
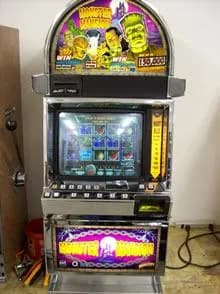
Step-by-step guide to receiving, placing, and powering on your home slot machine, from delivery day through your first spin.
You just bought a slot machine and it is on its way to your house. Exciting. But these are not exactly plug-and-play devices like a television. A slot machine is a precision electromechanical device that weighs as much as a large refrigerator and has specific requirements for safe operation.
After shipping thousands of machines to homes across the country over the past 33 years, we have developed this guide to cover everything you need to know about getting your machine from the delivery truck to its first spin. Follow these steps and your machine will reward you with years of trouble-free entertainment.
Before Delivery Day
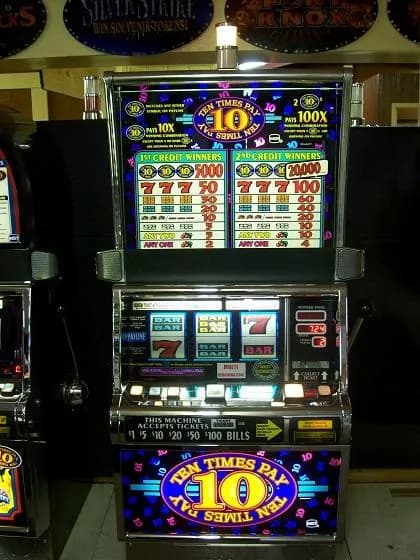
Preparation starts before the truck arrives. You need to have your space ready, your electrical sorted out, and a plan for getting 225 to 325 pounds of machine from your front door to its final resting place.
Choose Your Location
Slot machines need more space than most people expect. A typical upright (standing) slot machine measures approximately 30 inches wide, 24 inches deep, and 72 to 76 inches tall including the top box. A slant-top (sit-down) machine is shorter at about 48 to 52 inches tall but needs the same floor space plus room for a chair.
Beyond the machine footprint itself, you need clearance. Plan for at least 6 inches of space behind the machine for ventilation and cable access. You want at least 36 inches of clear space in front for comfortable play. The rear door of most machines swings open for maintenance, so ensure you can access the back without moving the machine.
Avoid locations with these characteristics. Direct sunlight will fade the graphics and overheat the electronics. Damp basements without climate control will corrode connectors and circuit boards. Unheated garages with temperature extremes will stress the monitor and electronic components. Anywhere near a hot tub or pool where humidity is high.
Ideal locations include climate-controlled game rooms, finished basements, home bars, man caves, or any interior room that stays between 60 and 80 degrees Fahrenheit with reasonable humidity.
Check Your Floor
A fully loaded slot machine with a full coin hopper can weigh 350 pounds concentrated on about 5 square feet of floor space. Standard residential flooring can handle this without issue in most cases. However, if you are placing it on a raised floor, a second story, or an older structure, verify that the floor joists can handle the concentrated load.
Hardwood floors will benefit from furniture pads under the leveling feet to prevent dents. Carpet works fine but makes leveling slightly more challenging.
Plan Your Path
Measure every doorway, hallway, and stairway between your front door and the machine's destination. The machine is roughly 30 inches wide and 24 inches deep. Standard interior doors are 30 to 32 inches wide, which means it will fit through most doorways with minimal clearance.
If you need to navigate stairs, stop and think carefully. A 300-pound machine on a stairway is genuinely dangerous. Consider whether you can remove the top box to reduce height and weight (most detach with 4 to 6 bolts). If the stairs are narrow or winding, hire professional movers experienced with heavy equipment. This is not the time for heroics with your buddy and a hand truck.
Speaking of hand trucks, a heavy-duty appliance dolly rated for at least 400 pounds is the right tool for moving a slot machine on flat ground. Regular lightweight dollies are not sufficient.
Receiving Your Delivery
Most slot machines ship via freight carrier on a pallet, strapped and wrapped. When the delivery truck arrives, here is what to do.
Inspect Before Signing
Before you sign the delivery receipt, inspect the exterior packaging for obvious damage. Look for holes punched through the cardboard, crushed corners, signs the pallet was dropped, or water staining. If you see damage, note it clearly on the delivery receipt before signing. Write "received with visible damage" and describe what you see. Take photos with your phone.
This documentation is critical if you need to file a freight claim. Once you sign a clean receipt, proving transit damage becomes much harder.
Unpacking
Remove the outer packaging carefully. The machine will likely be wrapped in moving blankets or foam and secured with straps to the pallet. Remove straps and wrapping, then do a visual inspection of the machine itself before moving it off the pallet.
Check the glass panels for cracks. Check the monitor screen for damage. Verify the top box is still securely attached. Look at the coin tray and button panel for any obvious issues.
Save all packaging materials for at least 30 days in case you need to ship the machine back for any warranty reason.
Temperature Acclimation
This step is critical and most people skip it. Do not skip it.
If your machine was shipped during cold weather or was sitting in an unheated delivery truck, the internal components may be well below room temperature. Powering on cold electronics can cause condensation to form on circuit boards as the components warm up in a room-temperature environment. Condensation on powered electronics causes short circuits and can permanently damage components.
The rule is simple. Let the machine sit unpowered in its final location for at least 4 to 6 hours before turning it on. If it was shipped in extreme cold (below freezing), give it a full 24 hours. This allows all internal components to reach room temperature gradually and any condensation to evaporate before you apply power.
During summer shipping this is less critical, but we still recommend at least 2 hours of acclimation as a standard practice.
Positioning and Leveling
Once the machine is in its final location, it needs to be level. This matters more than you might think. Coin mechanisms rely on gravity to feed coins correctly. Reel mechanisms need to be plumb to spin freely. Bill acceptors need proper alignment to feed bills smoothly.
Most slot machines have four adjustable leveling feet on the bottom. Use a bubble level placed on top of the machine and adjust the feet until you get level in both directions (side to side and front to back).
If your floor is significantly uneven, you may need to shim under the feet. Use solid material like hardwood blocks rather than soft material that will compress over time.
Once level, give the machine a gentle push from each side. It should feel rock-solid with no wobble. A wobbling machine during excited play will eventually walk across the floor and potentially damage itself or your flooring.
Electrical Requirements
Slot machines have modest electrical needs but specific requirements.
Power Specifications
Almost every slot machine sold for home use operates on standard North American household power: 120 volts AC, 60 Hz. They draw between 2 and 5 amps during normal operation, with brief higher draws during startup and when the hopper motor runs. A standard 15-amp household circuit has more than enough capacity.
You do not need a dedicated circuit for a slot machine, but be aware of what else is on the same circuit. If your game room circuit is also running a mini-fridge, a television, a sound system, and a neon sign, adding a slot machine might push things close to the 15-amp breaker limit.
Surge Protection
This is not optional. Plug your slot machine into a quality surge protector. Not a $8 power strip from the discount store, but a real surge protector rated for at least 1,000 joules with an indicator light that shows the protection is active.
Slot machines contain sensitive logic boards that cost $200 to $800 to replace. A single power surge can destroy them instantly. A $40 surge protector is cheap insurance.
Do not plug the machine directly into a wall outlet without surge protection. Do not use an extension cord longer than 6 feet. Do not daisy-chain power strips. One quality surge protector, plugged directly into a wall outlet, with the machine plugged into it.
Grounding
The machine must be plugged into a properly grounded (three-prong) outlet. Never remove or bypass the ground pin on the power cord. Slot machines have metal cabinets that must be grounded for safety. An ungrounded machine is a shock hazard.
If your game room only has two-prong outlets, have an electrician install a proper grounded outlet. This typically costs $100 to $200 and is money well spent.
First Power On
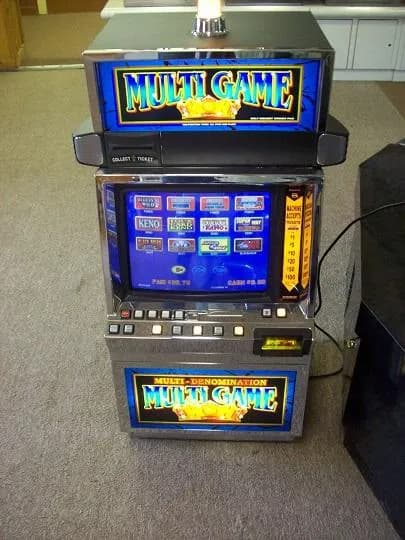
You have waited for acclimation. The machine is level. It is plugged into a surge protector connected to a grounded outlet. Now the moment of truth.
Locate the power switch. On most IGT machines, it is inside the main door on the right side, or on the back panel near the bottom. On Bally and WMS machines, it is typically on the back panel. Check your documentation if you are unsure.
Before flipping the switch, open the main door if you can (it should be unlocked or you should have received keys). Look inside briefly. Make sure nothing has shifted during shipping. No loose wires, no components that have come unbolted, no packing material left inside.
Flip the power switch. Here is what you should see and hear in order.
First, the power supply fan will spin up with a soft hum. The monitor will begin to warm up (CRT monitors take 10 to 20 seconds to show an image, LCDs are nearly instant). You may hear the hopper motor briefly test itself. The bill acceptor may cycle its transport mechanism.
The machine will go through a boot sequence. On IGT machines, you will see a series of diagnostic screens with memory tests and hardware checks. This takes 30 to 90 seconds depending on the model. On Bally and WMS machines, the boot process is similar but the screens look different.
If everything passes, the machine will display its attract mode or idle screen. Congratulations. Your machine is alive.
If Something Goes Wrong
If the machine does not power on at all, verify the outlet has power (plug in a lamp to test), check that the surge protector is switched on, and verify the machine's power switch is in the on position.
If the machine powers on but shows error codes, write down the exact error displayed. Most errors on a freshly-delivered machine are door-related (the machine thinks a door is open) or communication errors that clear themselves after a full power cycle (turn off, wait 30 seconds, turn back on).
If you purchased from us, call our tech support line. We can walk you through 95 percent of first-startup issues over the phone in under 10 minutes.
Setting the Denomination
Your machine may be set to any denomination from pennies to dollars or higher. For home use, denomination is largely cosmetic since most people play on free play mode, but it affects what displays on screen.
To change the denomination, you need to access the machine's setup menu. This requires a special key called the service or setup key, which should have been included with your purchase. Insert the key in the service keyswitch (usually inside the main door or on the belly panel) and turn it.
The setup menu varies by manufacturer but generally has a clearly labeled denomination option. Common choices for home use are 25 cents (quarter) or one dollar. Select your preference, save the setting, and exit the menu.
On IGT S2000 and S-Plus machines, you may need to install the correct denomination-specific EPROM chip. If you purchased from us, we set this up before shipping based on your preference.
Setting Up Free Play Mode
Free play mode is what most home owners want. It lets you play without inserting money or coins. You just press the button and spin. Credits never run out.
Accessing free play varies by platform.
On IGT machines with the AVP or I-Game platform, free play is a setting in the operator menu. Enter the setup menu with the service key, navigate to the accounting or credits section, and enable free play. On older IGT mechanical reel machines like the S-Plus, free play may require a specific chip configuration.
On Bally machines, free play is typically under the game options in the operator menu. Look for "credit mode" and change it from "standard" to "free play" or "persistent credits."
On WMS Bluebird machines, free play is in the operator settings under the credit configuration section.
If you purchased a refurbished machine from us, free play is already configured before shipping. We set every machine to free play mode unless you specifically request coin or bill operation.
Connecting a Player Tracking Display (Optional)
Some machines have a player tracking unit in the top box or belly panel. In a casino, this connects to the casino's network. In your home, it will either show an error or a default screen. You can usually disable it in the operator menu to eliminate any error messages, or simply leave it alone if it is not bothersome.
Sound and Volume
Slot machines are loud. Casino-floor loud. The first thing most home owners do is turn down the volume.
Most machines have a volume control inside the main door, either a physical knob on the speaker amplifier board or a setting in the operator menu. Some newer machines have a player-accessible volume button on the front panel.
Find the volume control and set it to a level appropriate for home use before your first real play session. Your family and neighbors will thank you.
Final Checklist
Before you declare your installation complete, verify the following.
- Machine is level and stable with no wobble
- Plugged into a surge protector connected to a grounded outlet
- All doors are closed and locked
- No error codes displayed
- Monitor is bright and clear with proper colors
- Sound is working and set to appropriate volume
- Free play mode is active (if desired)
- Bill acceptor works (if you want bill operation)
- All buttons respond when pressed
- The spin or handle mechanism works smoothly
If everything checks out, you are done. Enjoy your machine. And remember, we offer free lifetime tech support on every machine we sell. If you hit a snag at any point during setup, just call. We have walked thousands of customers through this exact process and we are happy to help.