
CRT to LCD Monitor Upgrade: Modernizing Your Slot Machine Display
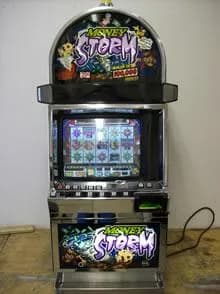
Everything you need to know about replacing a failing CRT monitor with an LCD kit in your IGT S2000, S-Plus, or Bally S6000 slot machine — costs, compatibility, and step-by-step overview.
The CRT monitor inside your slot machine was built to last a decade of 24/7 casino use. For a home machine that runs a few hours a week, it might last 20 or 30 years. But eventually, every CRT reaches the end of its life. When that happens, you have two choices: find another aging CRT to install, or upgrade to a modern LCD panel that will outlast the rest of the machine.
After 33 years of servicing slot machines in Kingman, Arizona, we have seen thousands of CRT failures and helped hundreds of customers through the upgrade decision. This guide covers everything you need to know — why CRTs fail, which LCD kits fit which machines, what it costs, and whether you should tackle it yourself or have it done professionally.
Why CRT Monitors Fail
CRT (cathode ray tube) monitors are analog devices with finite lifespans. Understanding how they fail helps you recognize the warning signs and decide when to act.
Capacitor Degradation
The most common failure mode in slot machine CRTs is capacitor aging. Electrolytic capacitors in the monitor chassis dry out over time, losing their ability to filter and regulate voltage. Symptoms include a shrinking picture (image pulls away from the edges), brightness fluctuations, and eventual failure to display an image at all. A technician can sometimes recap the monitor board — replacing all electrolytic capacitors — for $50 to $100 in parts. But this is a temporary fix on a monitor that is fundamentally aging out.
Phosphor Burn-In
Slot machine CRTs display the same image elements for years — pay tables, credit displays, and game graphics in fixed positions. Over time, these static elements literally burn into the phosphor coating on the inside of the tube. You see ghost images even when the display content changes. Burn-in is irreversible.
Flyback Transformer Failure
The flyback transformer generates the high voltage needed to accelerate electrons toward the screen. When it fails, the monitor goes completely dark. Flyback replacements are becoming increasingly difficult to source for slot machine monitors, particularly the Wells Gardner and Kortek units commonly found in IGT and Bally machines.
Yoke and Convergence Issues
Color CRTs use three electron guns (red, green, blue) that must converge precisely on the screen. As components age, convergence drifts and colors bleed or separate. Adjustments help temporarily, but progressive drift indicates end-of-life.
The Supply Problem
Here is the bigger issue: CRT manufacturing ended globally in the early 2010s. No one makes new CRT monitors. The supply of replacement tubes is finite and shrinking. Refurbished CRTs are available today at $50 to $100, but in five years, they will be scarce and expensive. An LCD upgrade is future-proofing your machine.
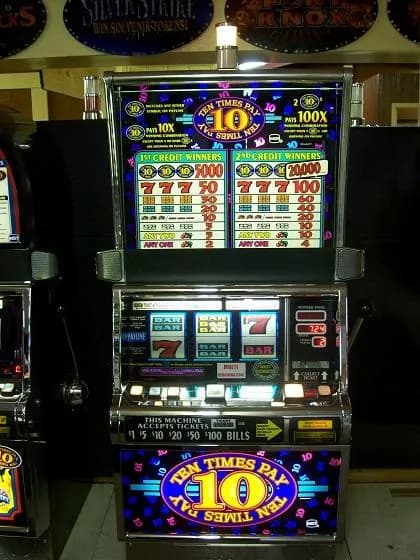
Compatible LCD Kits by Machine Model
Not all LCD kits are equal, and not all fit all machines. Here is a breakdown by the most common platforms.
IGT S2000
The S2000 uses a 9-inch CRT (some variants use a 10-inch) for the upper information display. This is the small screen that shows credits, bet amounts, and game messages — not the reels themselves (those are mechanical). The monitor is typically a Wells Gardner U2000 or equivalent.
Compatible LCD kits: 9-inch or 10-inch direct-fit LCD replacements are available from aftermarket suppliers. These kits include the LCD panel, a driver board, mounting bracket, and wiring harness that connects to the existing video signal from the game board. The most common kits output the same resolution the game board expects — typically 15kHz at 240p or 480i.
Resolution and aspect ratio: The original S2000 CRT is 4:3 aspect ratio at low resolution. LCD kits designed for this application match the 4:3 ratio perfectly. Do not buy a widescreen panel — it will stretch the image or leave black bars on the sides.
Difficulty: Moderate. Requires removing the old CRT (careful — they hold high voltage even when unpowered), mounting the LCD panel and driver board in the same space, and connecting the video and power harness. A competent DIYer with basic electronics comfort can do this in 2 to 3 hours.
IGT S-Plus
The S-Plus predates the S2000 and uses an even simpler display system. Many S-Plus machines use a VFD (vacuum fluorescent display) rather than a CRT for the credit/bet display, and the upper display is a small CRT for attract modes.
Compatible LCD kits: Similar 9-inch kits work for the S-Plus, though mounting may require minor bracket modifications since the S-Plus cabinet has slightly different internal dimensions than the S2000.
Resolution and aspect ratio: Same 4:3, 15kHz signal as the S2000. The game boards are similar enough that the same LCD driver boards work.
Difficulty: Moderate. Similar to the S2000 process with minor mounting differences.
Bally S6000 Series
Bally machines from the S6000 era use larger CRT monitors — typically 15-inch or 17-inch units for video display machines, and smaller units for reel-spinner information displays. The video signal is typically standard-resolution analog.
Compatible LCD kits: 15-inch and 17-inch LCD kits are available for Bally video machines. These are more complex installations because the CRT is the primary game display (not just an information screen). The LCD panel must handle the full video output of the game board including game graphics, bonus screens, and attract modes.
Resolution and aspect ratio: Bally S6000 video machines output at 480i or 480p depending on the model. 4:3 aspect ratio. The LCD kit driver board must be able to sync to the specific signal the Bally board outputs — not all generic kits work. Buy a kit specifically marketed for Bally S6000 compatibility.
Difficulty: Moderate to difficult. The larger monitor is heavier to remove, the mounting is more complex, and the video signal compatibility is more critical. For Bally video machines, we recommend professional installation or at minimum a detailed service manual for your specific model.
Video Slot Platforms (WMS Bluebird, Aristocrat, Konami)
Many video slot machines from the late 1990s and early 2000s use larger CRTs (17-inch to 22-inch) as their primary display. LCD upgrades for these platforms exist but vary widely by model. Some manufacturers used proprietary video interfaces that require specific driver boards.
General guidance: For video slot platforms, research your specific model before buying any kit. The game board's video output format, resolution, and connector type must match the LCD driver board exactly. A mismatch means no picture or a scrambled display.
Resolution and Aspect Ratio Matching
This is where most DIY upgrades go wrong. Here are the rules.
Match the Aspect Ratio
Old slot machine CRTs are 4:3. Your replacement LCD must be 4:3. A 16:9 widescreen panel will either stretch the image horizontally (making everything look fat) or display black bars on the sides (wasting screen space and looking wrong inside the bezel).
Match the Signal Type
Slot machine game boards output analog video at specific frequencies. The most common are:
- 15kHz horizontal (standard NTSC/CGA timing) — most common in IGT machines
- 24kHz (EGA-style timing) — some Bally and WMS machines
- 31kHz (VGA timing) — newer platforms
Your LCD driver board must accept the frequency your game board outputs. A driver board designed for 31kHz VGA will not sync to a 15kHz signal. This is the most critical specification to verify before purchasing.
Brightness and Viewing Angle
Slot machine monitors are viewed from close range at a specific angle. Choose an LCD panel with at least 250 nits brightness (more is better for the backlit casino look) and a wide viewing angle (178 degrees IPS panels are ideal). TN panels with narrow viewing angles look washed out from anything other than dead center.
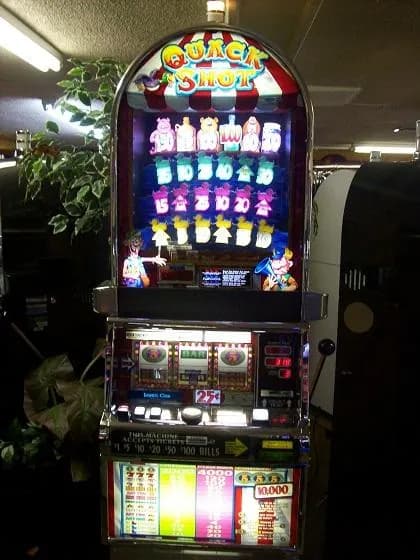
Cost Comparison: LCD Kit vs. CRT Refurbishment
LCD Upgrade Kit: $150 to $400
- 9-inch to 10-inch kit for IGT S2000/S-Plus information display: $150 to $200
- 15-inch kit for Bally video machines: $200 to $300
- 17-inch to 19-inch kit for larger video slot platforms: $250 to $400
- Professional installation (if you hire a technician): Add $100 to $200 labor
CRT Refurbishment: $50 to $150
- Recapping the monitor chassis (capacitor replacement): $50 to $100 in parts, $50 to $100 labor if you hire it out
- Replacement CRT monitor (used/refurbished): $75 to $150 depending on size and availability
- Flyback transformer replacement (if available): $30 to $60 part, $75 to $100 labor
The Long-Term Math
A CRT refurb costs less today but buys you limited time. A recapped monitor might last another 5 to 10 years. A replacement used CRT is already aged and may last 3 to 7 years. Eventually, you will face the same decision again — and CRT parts will be harder to find.
An LCD upgrade costs more upfront but is essentially permanent. LCD panels last 50,000 to 100,000 hours. At 10 hours per week of home use, that is 96 to 192 years. The LCD will outlive you, your children, and probably the machine itself.
Step-by-Step Overview: LCD Upgrade on an IGT S2000
This is a general overview. Your specific kit will include detailed instructions. Always follow the kit manufacturer's instructions over this general guide.
Step 1: Power Down and Discharge
Unplug the machine and wait at least 30 minutes. CRT monitors store high voltage in their flyback capacitor even when powered off. This voltage can be lethal. If you are not comfortable working around high-voltage electronics, hire a professional.
To safely discharge: use an insulated screwdriver with a wire clipped from its shaft to the monitor chassis ground. Slide the screwdriver tip under the anode cap (the suction cup on the side of the tube) and touch the connector underneath. You may hear a snap. This discharges the stored voltage.
Step 2: Remove the Old CRT
Disconnect the video cable, power connector, and degaussing coil connector from the monitor chassis. Remove the mounting bolts (typically 4 bolts securing the monitor frame to the cabinet). Carefully slide the CRT assembly out. CRTs are heavy and fragile — the glass envelope can implode if cracked. Wear safety glasses and work carefully.
Step 3: Prepare the Mounting
Your LCD kit includes a mounting bracket or adapter plate designed to use the same bolt holes as the original CRT mount. Test-fit the bracket and confirm alignment with the bezel opening. You want the LCD panel centered in the visible area.
Step 4: Install the LCD Panel and Driver Board
Mount the LCD panel to the bracket per kit instructions. Secure the driver board to the cabinet interior using the included standoffs or Velcro mounting. Connect the LVDS cable from the driver board to the LCD panel. Route cables neatly and away from any heat sources.
Step 5: Connect Video and Power
Connect the video input cable from your kit's driver board to the game board's video output. This is typically a VGA-style connector or a pin header, depending on the kit and machine. Connect the power cable — most kits tap into the machine's existing 12V supply or include a small power adapter.
Step 6: Power Up and Adjust
Power on the machine. The LCD should display the game's boot sequence and then the attract mode or main game screen. Use the driver board's OSD (on-screen display) buttons to adjust brightness, contrast, position, and scaling if needed. Some kits auto-detect and require no adjustment.
Step 7: Secure and Close
Once the display looks correct, secure all cables with zip ties, close the cabinet, and test thoroughly. Play several rounds and verify all screens display correctly — attract mode, game play, bonus features, and error/tilt displays.
When to Upgrade vs. When to Refurbish
Here is our honest recommendation based on decades of experience.
Upgrade to LCD if:
- Your CRT has failed completely (dark screen, no high voltage)
- You have already recapped the monitor once and it is failing again
- The CRT has significant burn-in affecting viewing enjoyment
- You want a brighter, sharper display with better color
- You plan to keep the machine long-term (10+ years)
- You have a video slot machine where the CRT is the primary game display
Stick with CRT refurbishment if:
- The CRT has minor issues (needs recapping, slight brightness reduction)
- You prefer the authentic warm glow and curvature of a CRT display
- You are on a tight budget and $50 to $100 solves the problem
- The machine is an IGT S2000 reel spinner where the CRT is only the small information display (not the primary game view)
- You are a purist who values originality over longevity
Important Safety Warnings
CRT monitors contain hazardous voltages and materials. Take these warnings seriously.
- High voltage: CRTs store 20,000 to 30,000 volts in the flyback/anode assembly. This voltage persists after power is removed. Always discharge before touching any monitor component.
- Implosion risk: The glass envelope is under vacuum. A cracked tube can implode violently, throwing glass shards. Handle with care and wear safety glasses.
- Lead content: CRT glass contains lead. Dispose of old CRTs properly through electronics recycling, not regular trash.
- Weight: A 17-inch CRT monitor assembly weighs 30 to 50 pounds. Support it properly when removing from the cabinet.
If any of this makes you uncomfortable, that is perfectly reasonable. A local TV repair shop, arcade technician, or slot machine service tech can do the upgrade for you. Or contact us — we can walk you through the process over the phone with our free lifetime tech support.
Where to Find LCD Kits and CRT Replacements
For parts sourcing, check our guide on where to find slot machine parts. Specialized arcade and gaming monitor suppliers carry LCD kits designed specifically for slot machine applications. Avoid generic LCD controllers meant for PC monitors — they often do not support the 15kHz signal frequencies that slot machine game boards output.
If you are dealing with error codes related to a failing monitor, sometimes the issue is the monitor itself and sometimes it is the game board's video output. Diagnosing which component is at fault before ordering parts saves time and money.
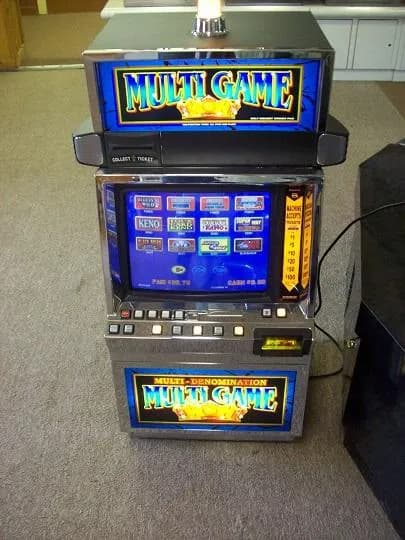
Our Machines Come Ready to Play
Every machine in our inventory of 334 machines is sold with fully functional displays — whether that is an original CRT in good condition or an LCD upgrade already installed. We test every display as part of our refurbishment process and will not ship a machine with a failing monitor.
If you are buying a machine from us and have a preference for LCD over CRT (or vice versa), let us know. We can often accommodate display preferences on machines that are still being prepped.
For machines you already own, our free lifetime tech support covers walk-through assistance on LCD upgrades. Call us, tell us your machine model and the kit you purchased, and we will guide you through the installation step by step.
Whether you decide to upgrade or refurbish, the goal is the same — keeping your machine displaying bright, clear graphics for years to come. The CRT-to-LCD upgrade is one of the best modernizations you can make to a classic slot machine, preserving everything that makes it great while eliminating the one component most likely to fail.